How to use SDK with Qt Creator
This tutorial will create a Qt project with Qt Creator to start using SDK.
You could find the project demo in<sdk>/platforms/projects/qtcreatordirectory.
Preparation
- Windows: install the win pack of SDK
- Linux: build from source and
make install
Create Project
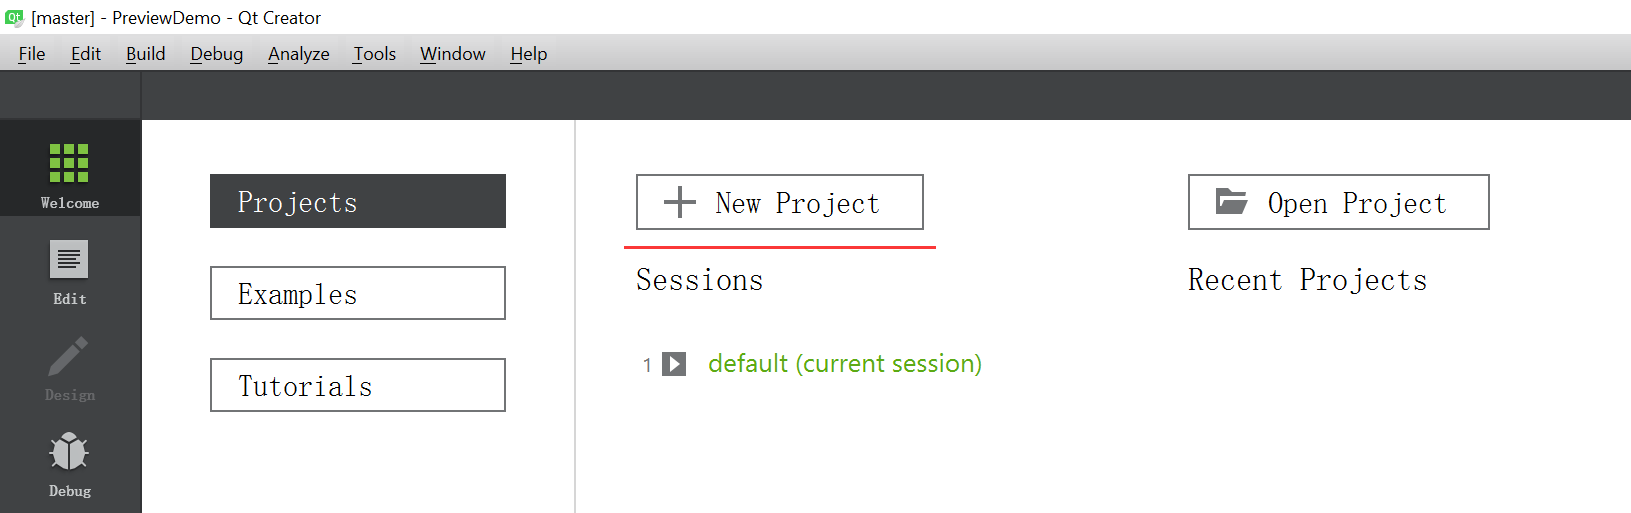
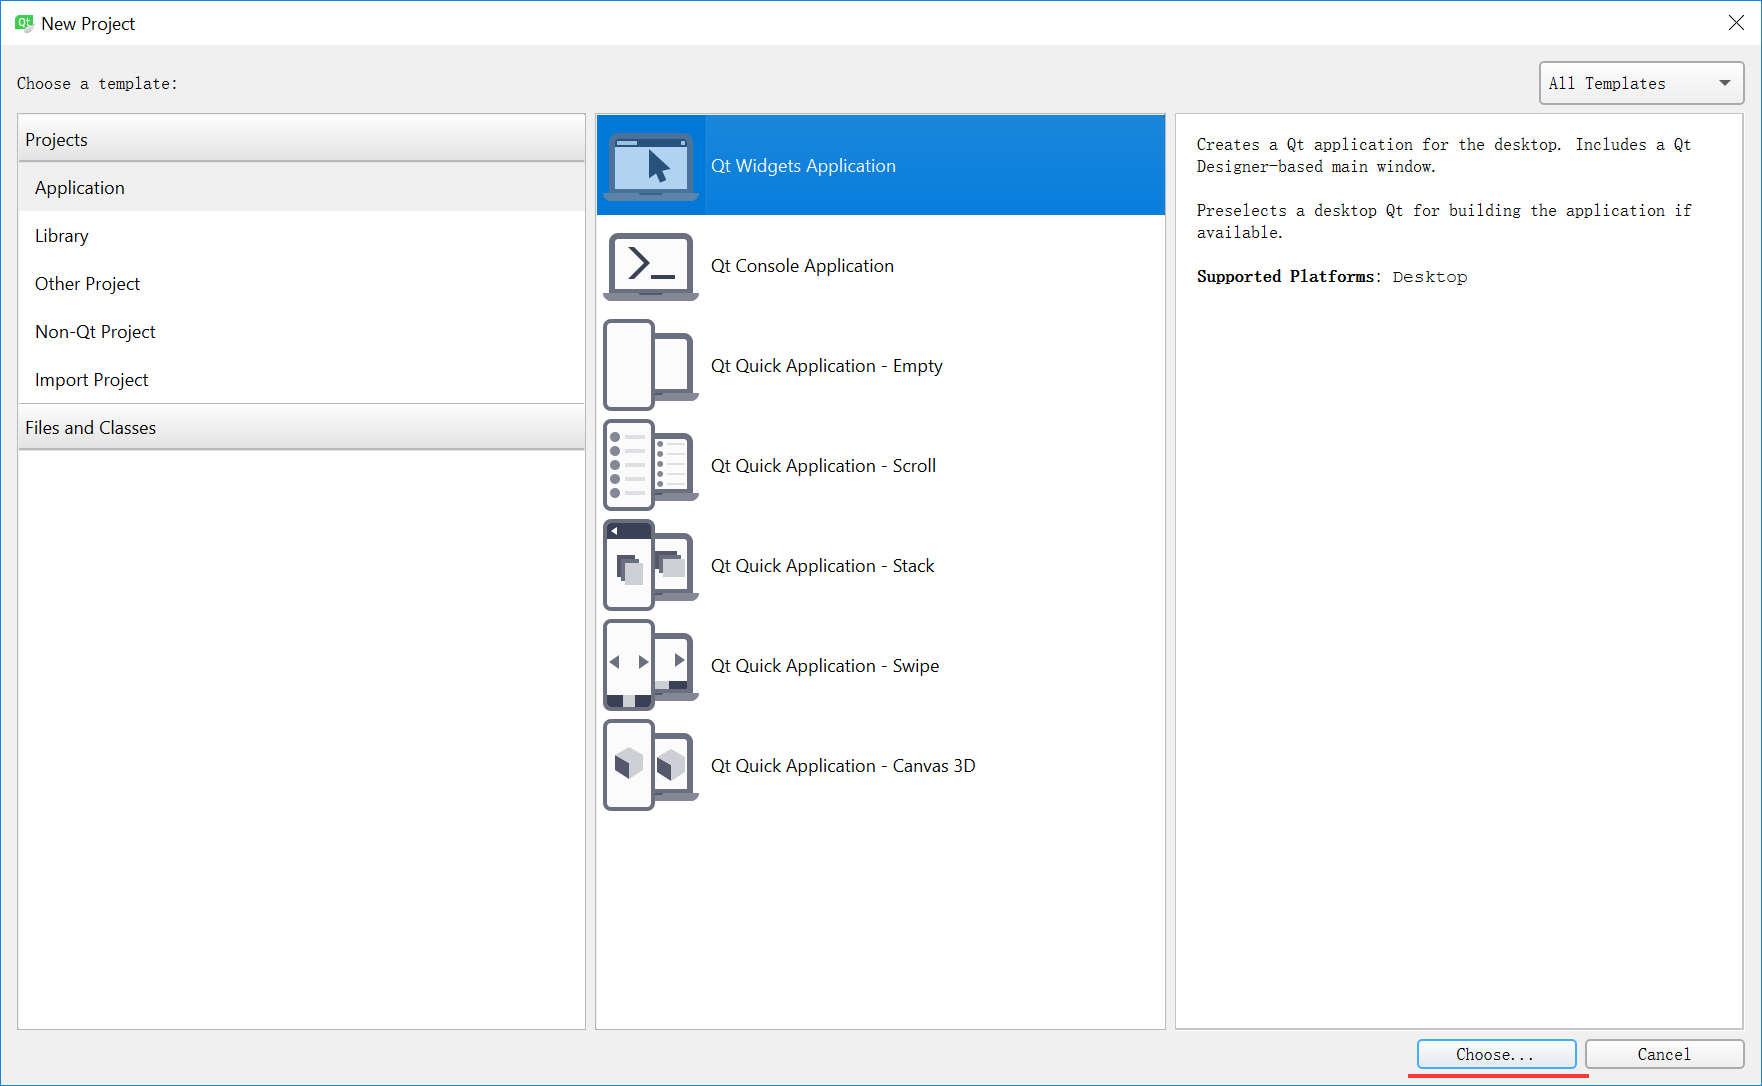
Open Qt Creator, then New Project,
Choose Qt Widgets Application,
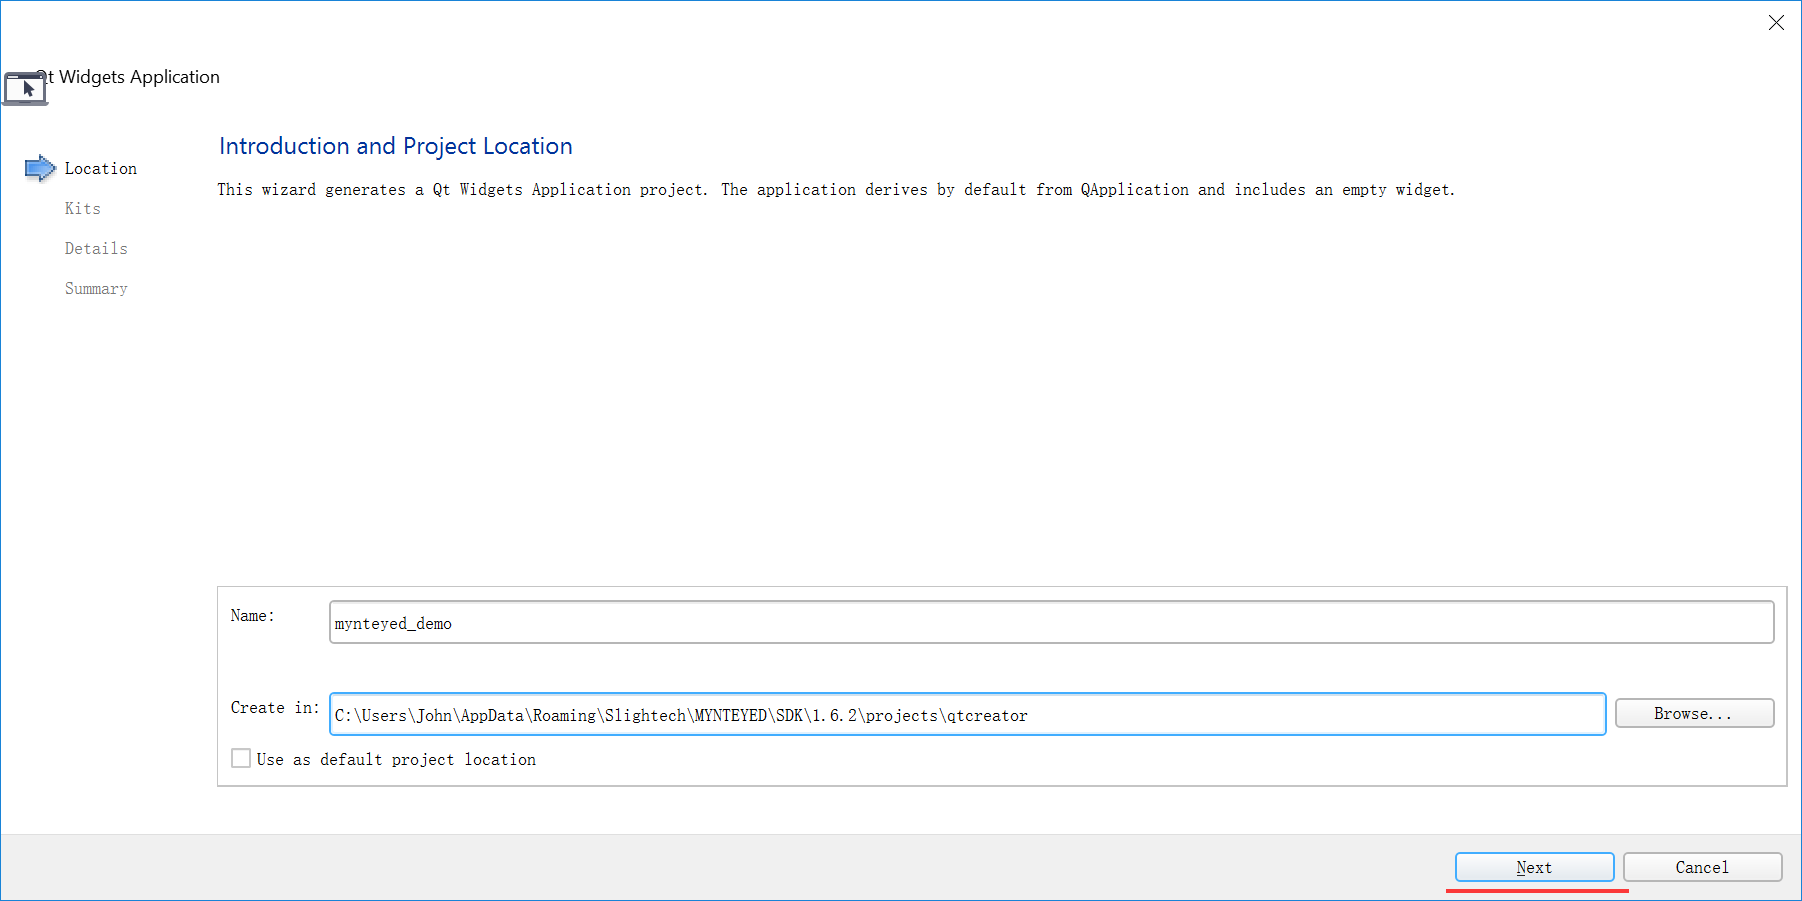
Set project location and its name,
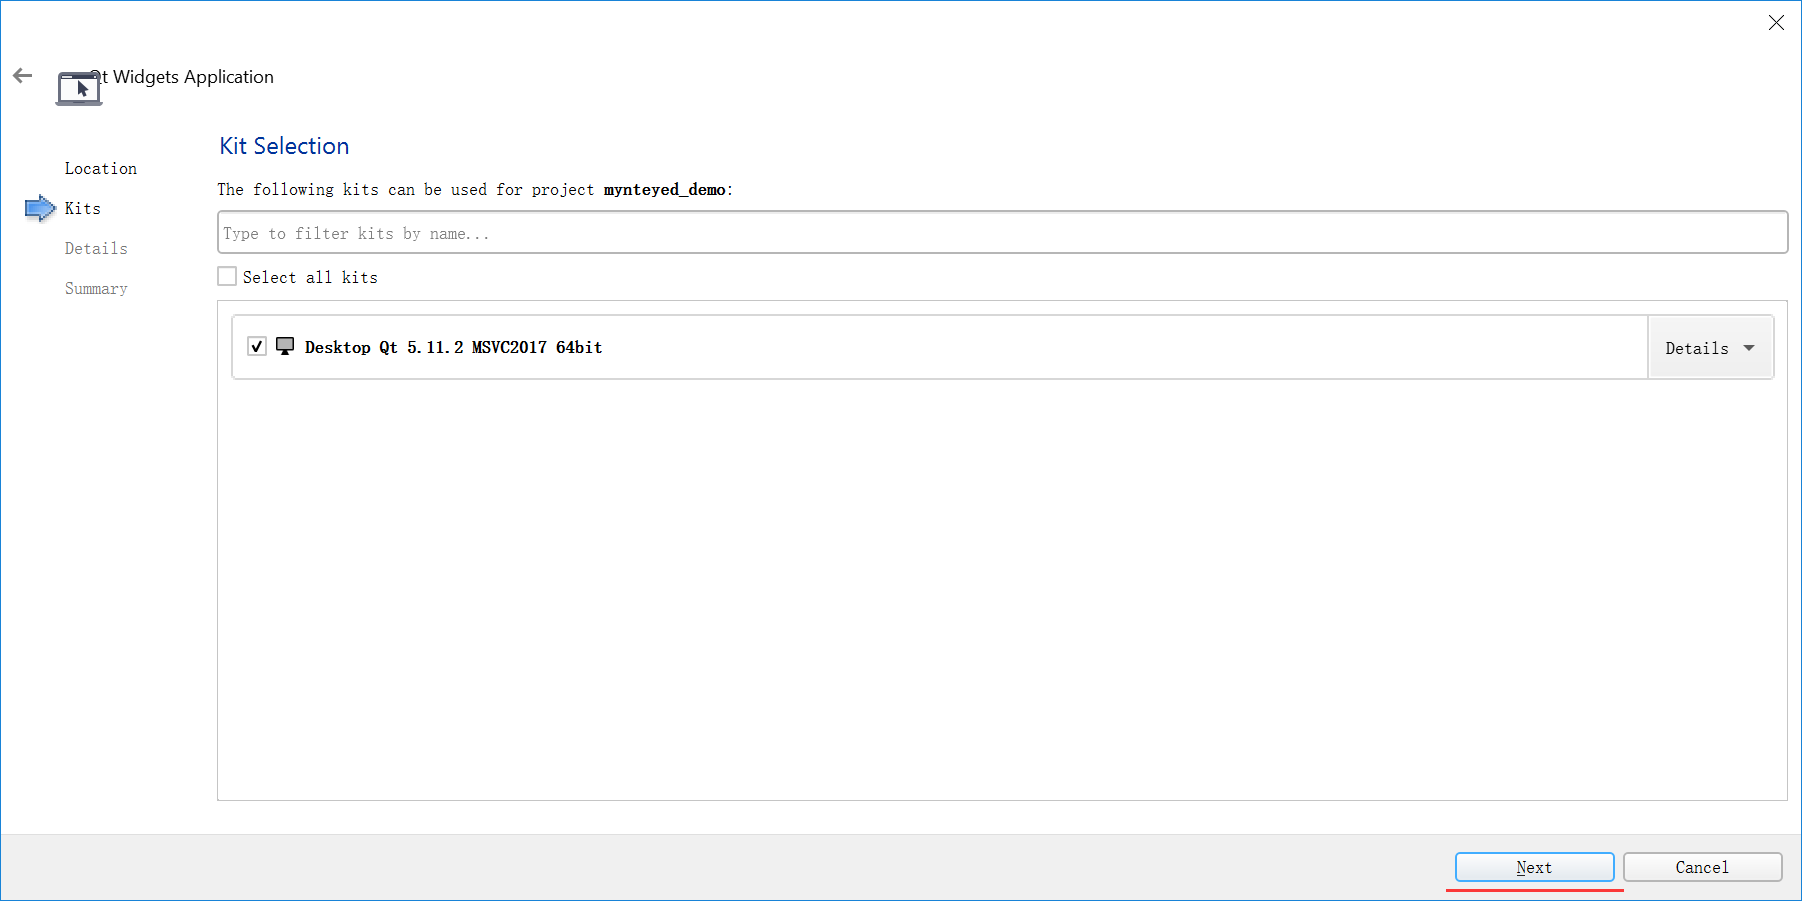
Select the build kits,
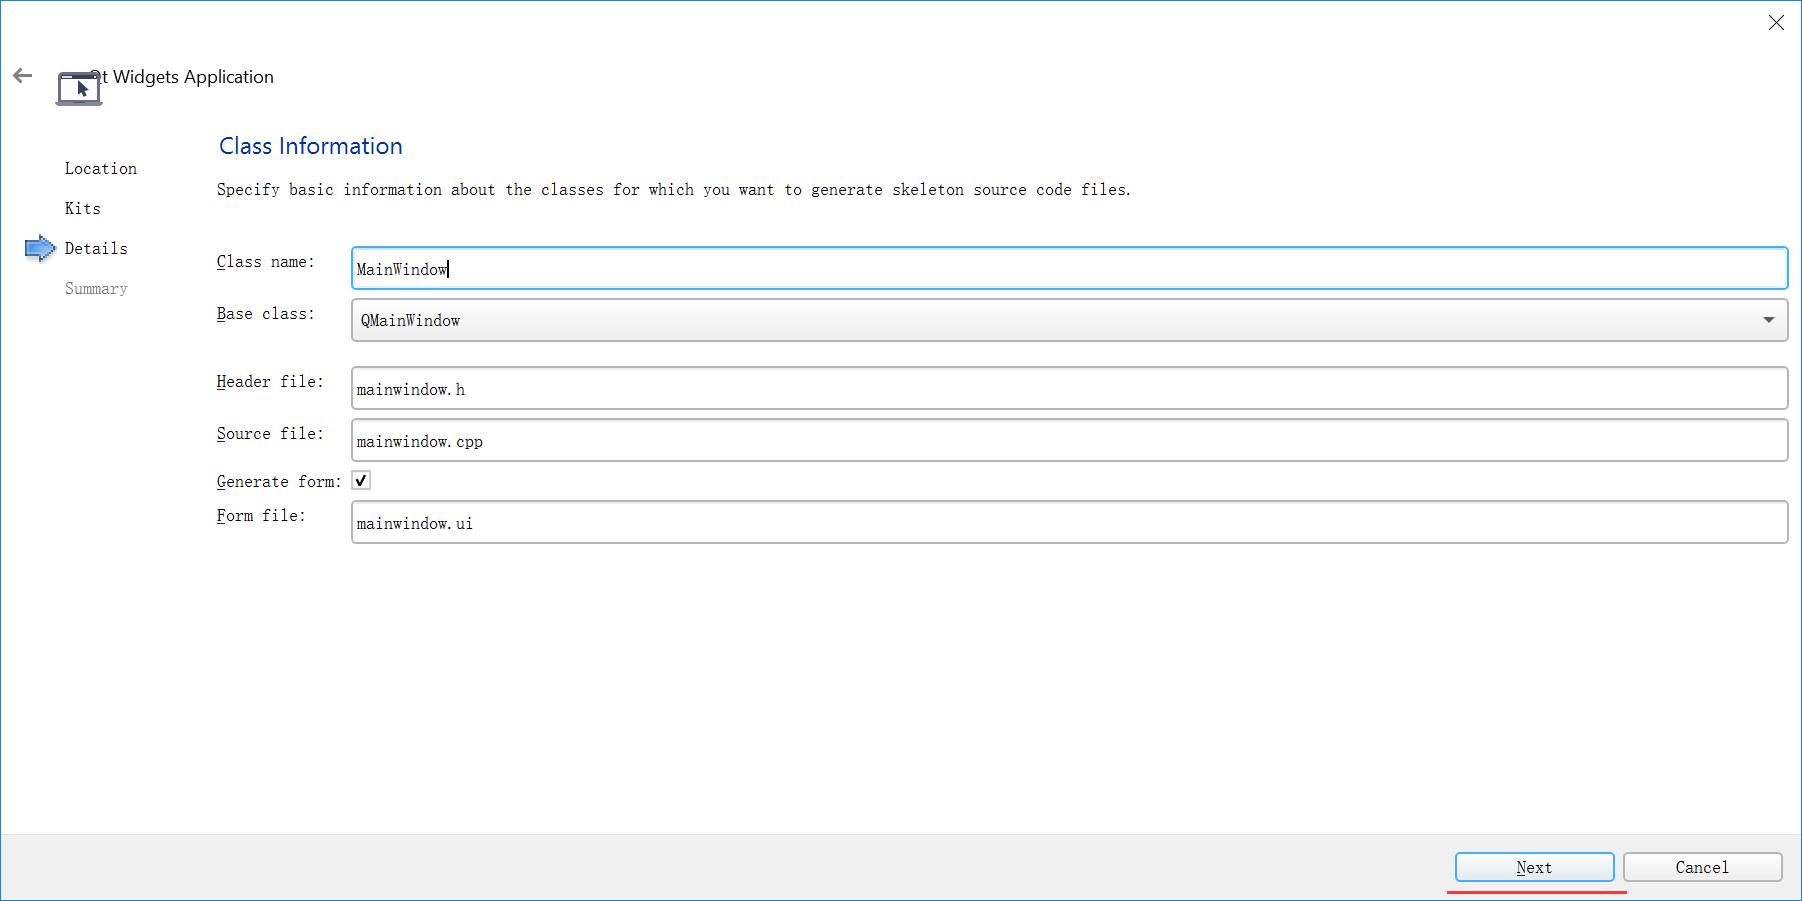
Then, it will generate the skeleton source files,
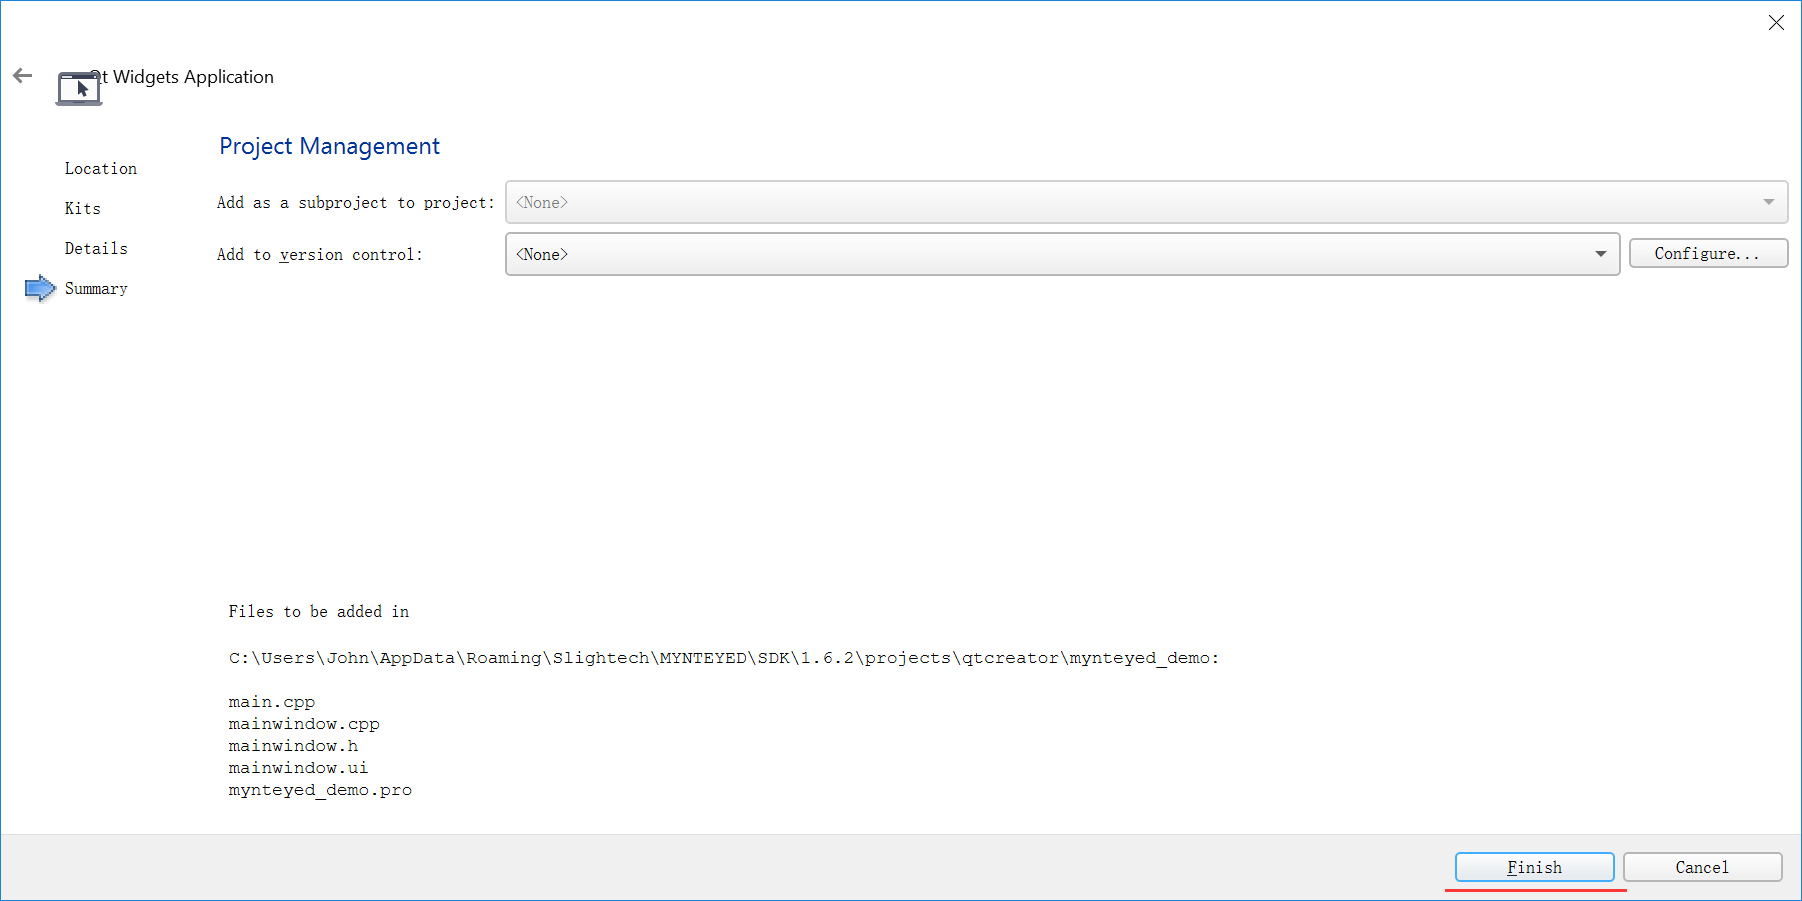
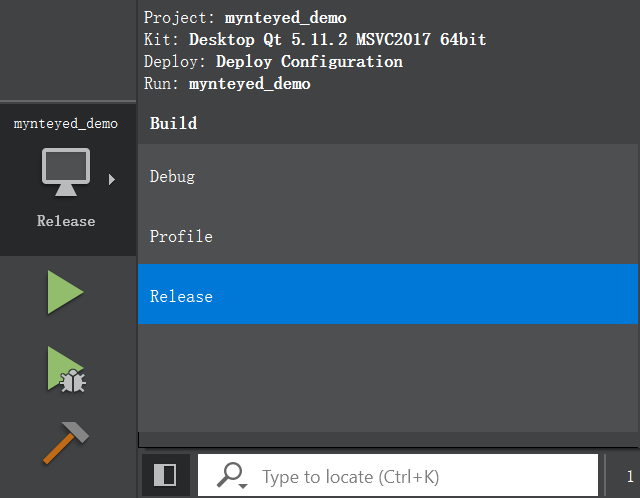
Finally, you will see the new project like this,
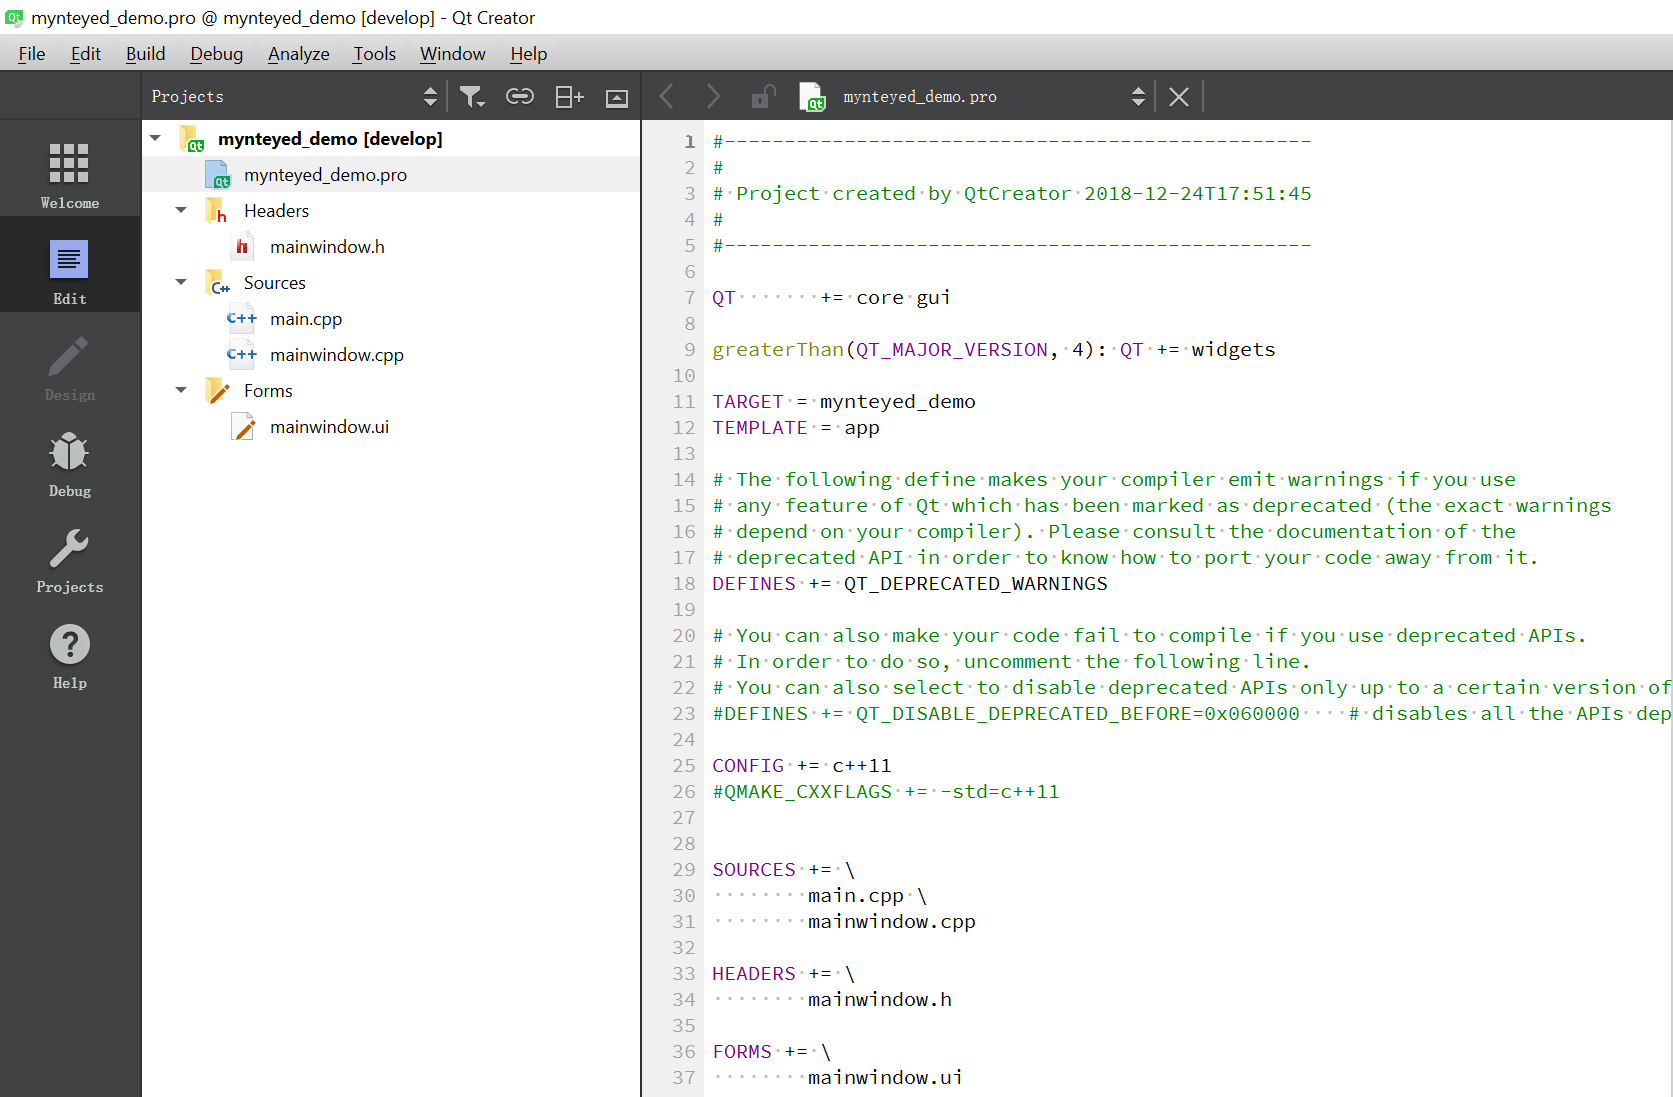
Config Project
Edit mynteyed_demo.pro to add INCLUDEPATH and LIBS.
win32 {
    SDK_ROOT = "$$(MYNTEYED_SDK_ROOT)"
    isEmpty(SDK_ROOT) {
        error( "MYNTEYED_SDK_ROOT not found, please install SDK firstly" )
    }
    message("SDK_ROOT: $$SDK_ROOT")

    INCLUDEPATH += "$$SDK_ROOT/include"
    LIBS += "$$SDK_ROOT/lib/mynteye_depth.lib"
}

unix {
    INCLUDEPATH += /usr/local/include
    LIBS += -L/usr/local/lib -lmynteye_depth
}